Infrared
It's a photo-editing filter that I love to apply when I edit my model photography. I like it so much that I now practically use it every time I take a photo of a person.
Especially a nude person.
Oh, and this might be the best time to say that this post my not be suitable for viewing in the office. It contains nudity.
I never worry too much when a portrait shot isn't tack-sharp. No one needs to see every crease, every strand of hair, or every little blemish. As long as the photo isn't out of focus, capturing the person is what matters.
And if someone has a pimple, I'll happily clear it up in post processing for them. No one wants any focus on a zit.
Often, when I edit the photo of a person, I'll try to make him or her look as good as possible. I put their best foot forward, so to speak. When a lot of skin is visible, I'll tend to smoothen that skin after I remove unwanted blemishes.
When I attend a photo shoot, I sort of have in my mind whether I want a photo to appear in colour or in black and white before I even press the shutter release. I know how the light will appear in the unedited shot and compose the shot with this in mind.
It doesn't always turn out that way, but I try.
When I attend a high-key lighting event, with lots of studio lighting and a nice, bright background, I almost always plan for my final shots to be in black and white, as I would sometimes have trouble correcting the white balancing and the white background often ends up with purple highlights.
I'm getting better at correcting, and at my last shoot, I think I got the hang of it.
When I edit an image with a black-and-white result as my final intention, I do a couple of things in post-processing. For high-key shots, I'll brighten the image as much as possible without completely washing out the subject. I'll raise the contrast and add fill light, as well as raising the highlights.
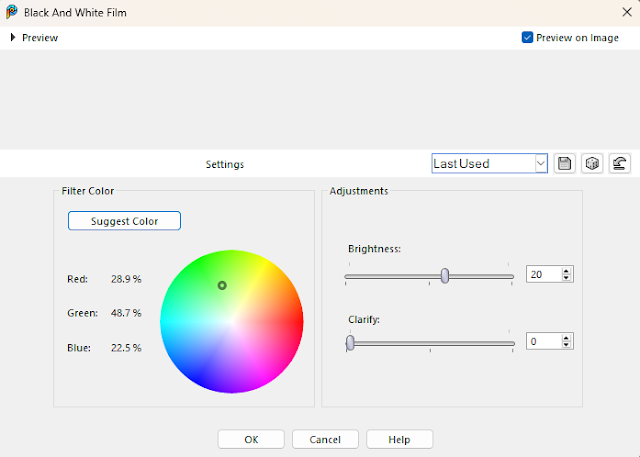
When I'm happy with the overall look of the colour image, I'll then render it in black and white. In my photo-editing software, I initially let the program analyse my photo and suggest the correct amount of red, green, and blue. It'll place a small circle on a colour wheel, showing the percentage each of RGB filtering.
I rarely accept the suggested filter because, as I said, I already have an idea of what I want the black-and-white image to look like. So, I'll move that small circle until I see the result that I'm looking for, sometimes even going to the opposite side of the wheel from what the program suggested.
I'll also increase the brightness on a high-key image, just to further eliminate the background. But often, the conversion from colour to black and white is not the final step I take.
I like a glow over my models. Not a lot but just enough to give the overall look of the portrait a softness that stands out. And that's why it doesn't matter that the original, RAW image is tack-sharp.
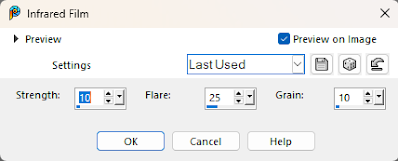
I apply an infrared filter over the entire image. Just a touch.
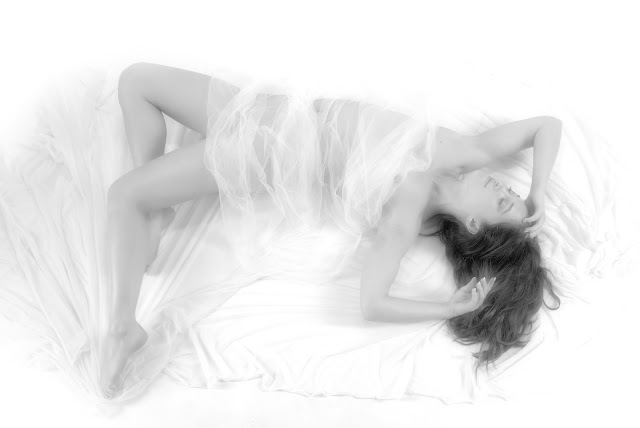
For example, let's look at the last model shoot I attended, with New Zealand model, Lucy. The following photos show the edited colour shot that I took, at the top (obviously). The middle version of the shot is my rendering in black and white. The image on the bottom has a further infrared effect applied.
Which image do you prefer?
Now, when I shoot in low-key lighting, I find I have a lot more leeway when it comes to post-processing. I'll take a few initial test shots to make sure my exposure is what I want before I begin, and I rarely have to make adjustments, unless we change the configuration of the studio lights.
Usually, I find that white balancing isn't as much an issue with low-key photos as it is with high-key shots, though there's always a bit of tweaking. And for me, there's something about an infrared filter applied when there's a black background.
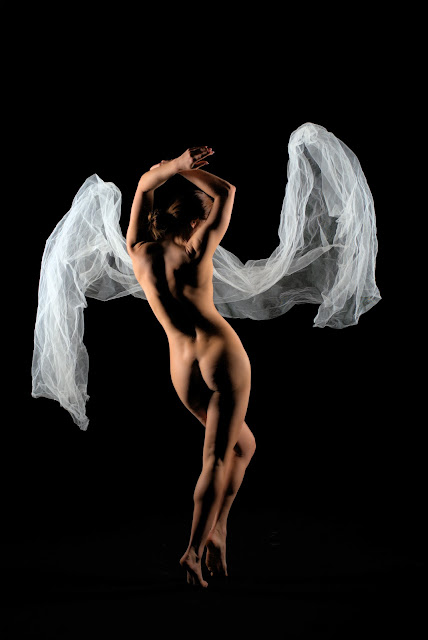
For low-key shots, I often skip the black-and-white rendering step and just apply the infrared filter. More times than not, I find the glow against a black background just looks better, anyway, and the filter automatically changes a colour image to black and white.
Have a look:
Which of these shots strikes you the most?
For me, studio photography lets me be my most creative in post processing. But one tool I'll always keep handy is the infrared tool.
(Now, I'm trying to think if I've ever used it on a subject that wasn't a person in a studio.)
Oh, and if you haven't already seen my other photos from my shoot with Lucy, check out this week's Wordless Wednesday.
Happy Friday!


Comments
Post a Comment